
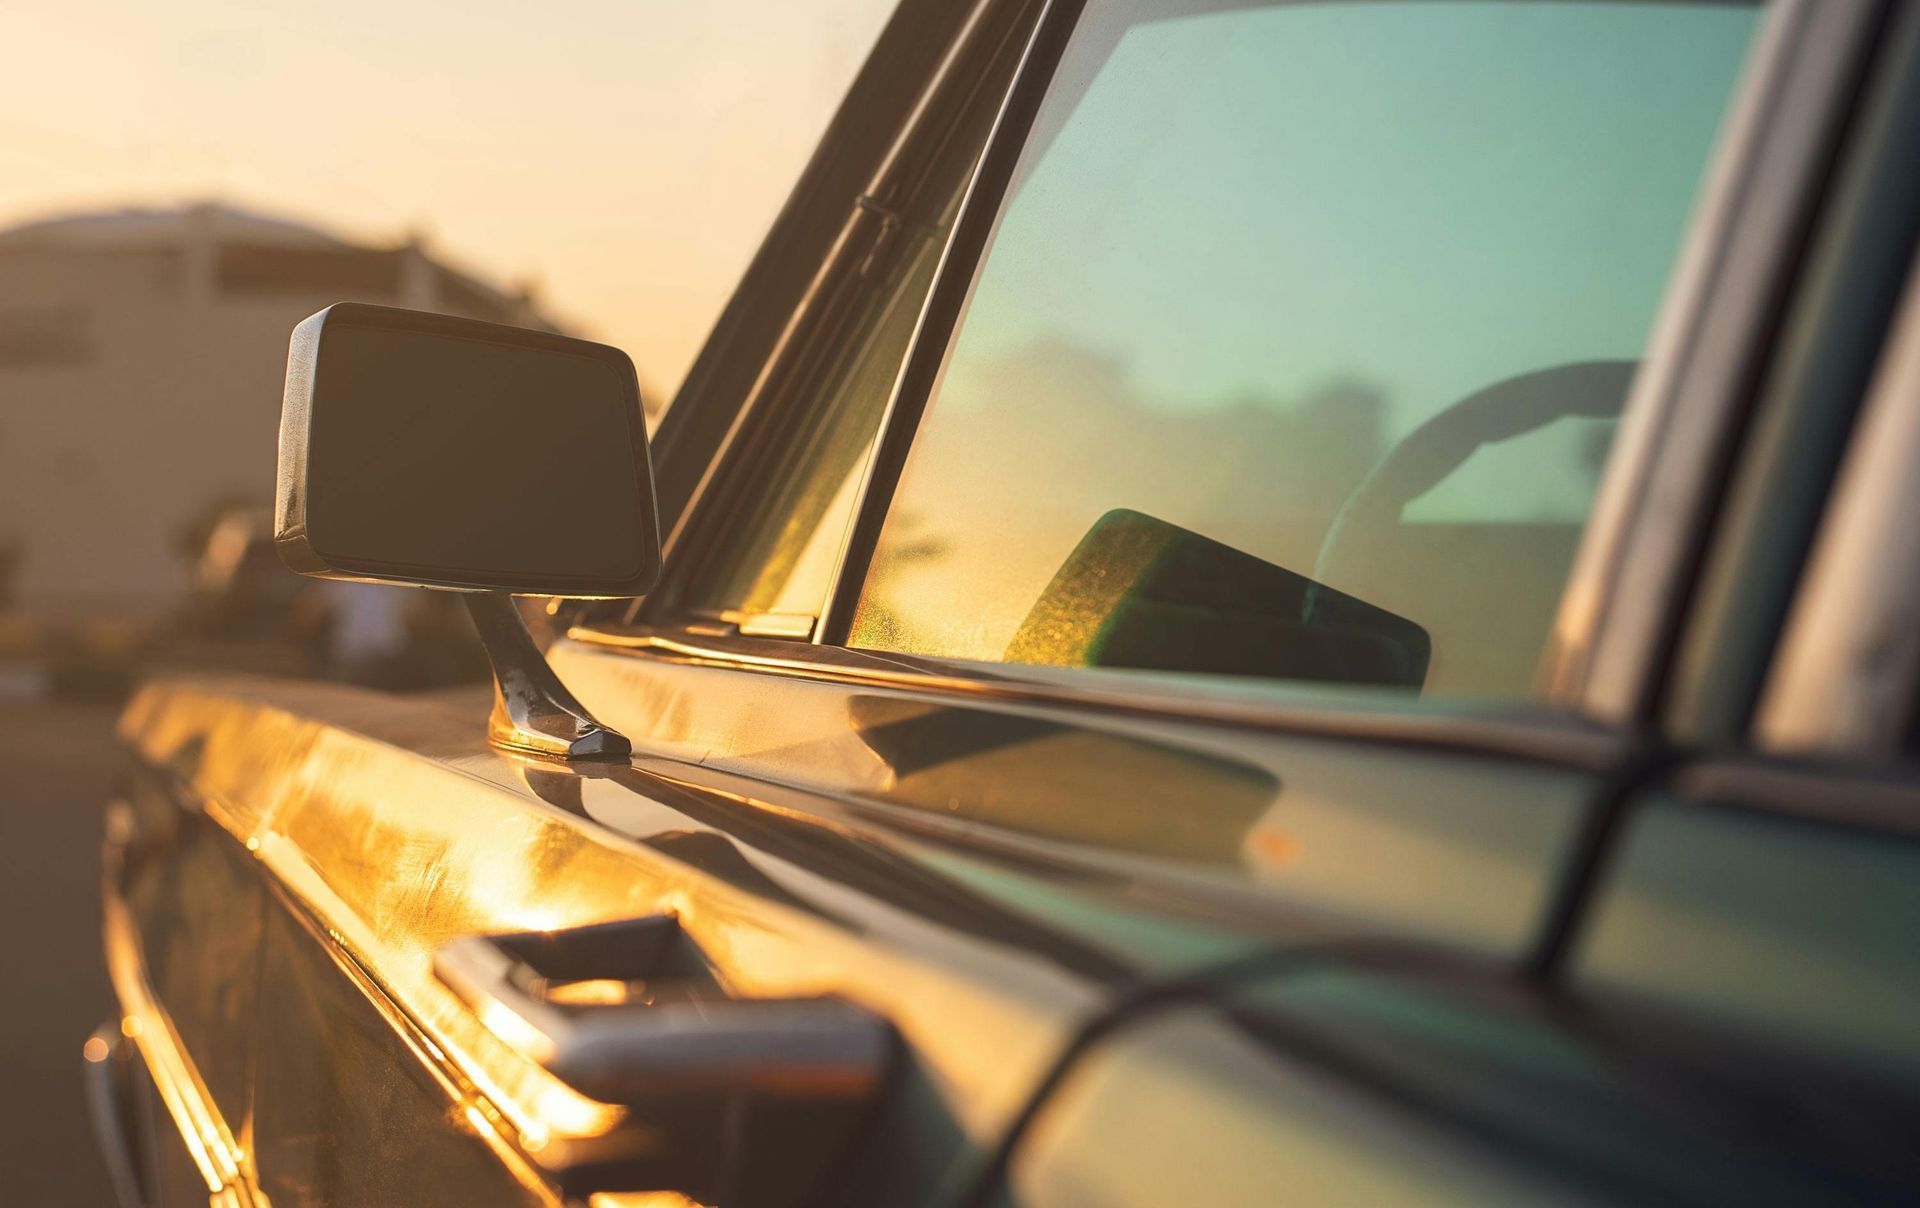
How to Remove and Install a Car Window
Replacing a car window may seem like a daunting task, but it can be a manageable
DIY project with the right tools and guidance. Whether your window is shattered due to an accident or simply needs replacing because of wear and tear, understanding the removal and installation process is key to restoring your vehicle's integrity and appearance. This guide will walk you through the essential steps involved in both removing a damaged window and installing a new one. With some patience and attention to detail, you can save yourself time and money by tackling this project on your own.
DIY Car Window Installation
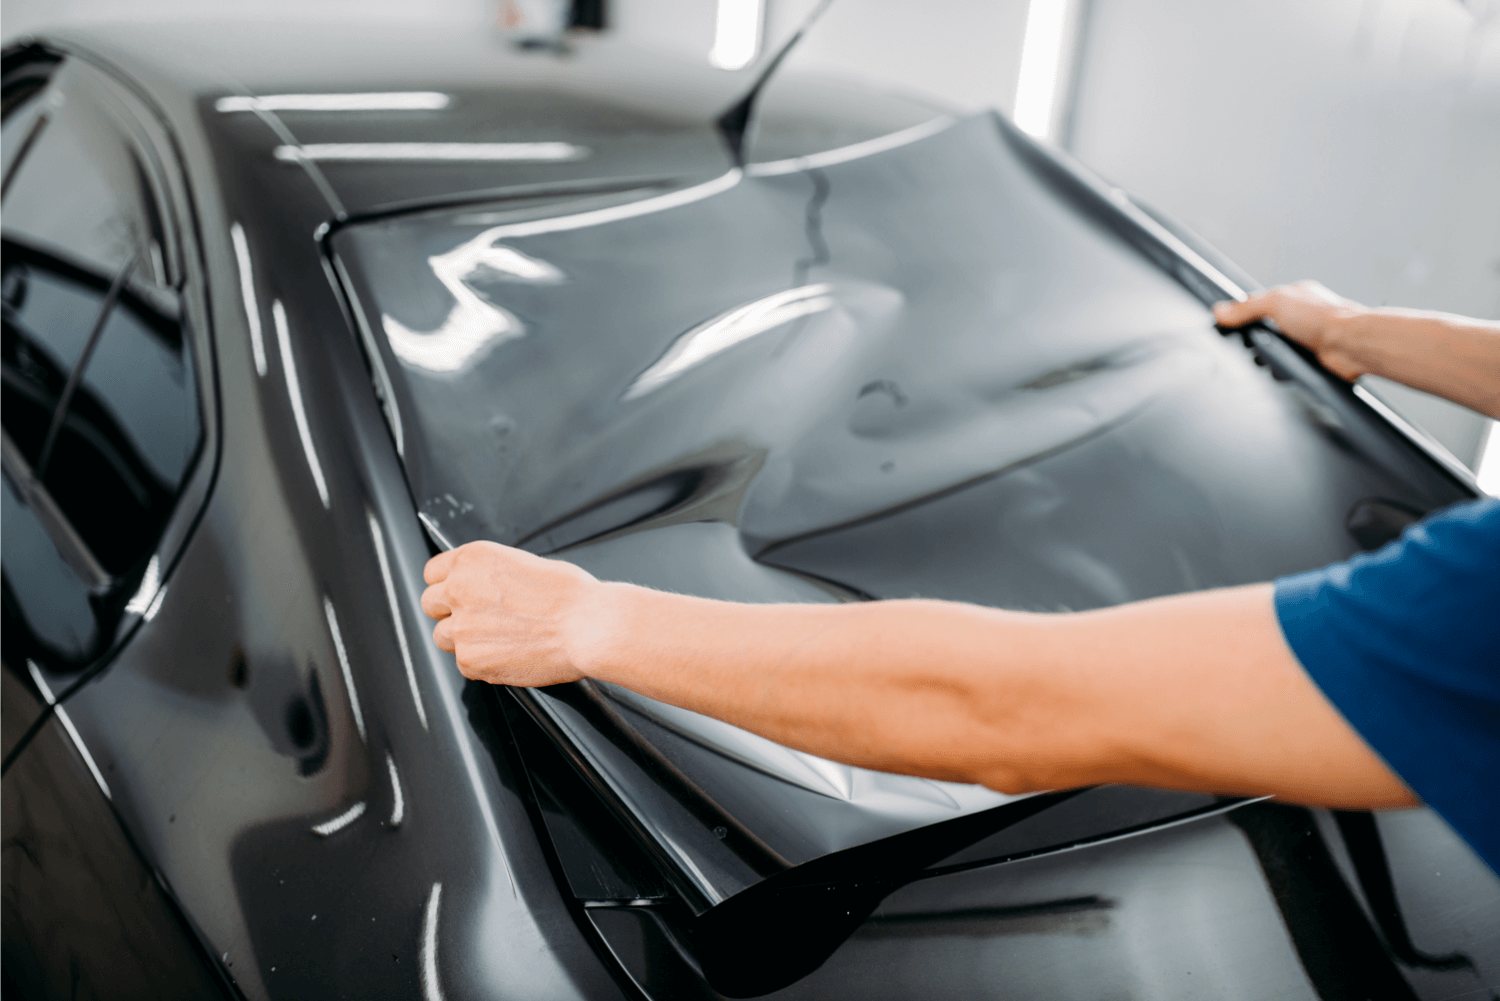
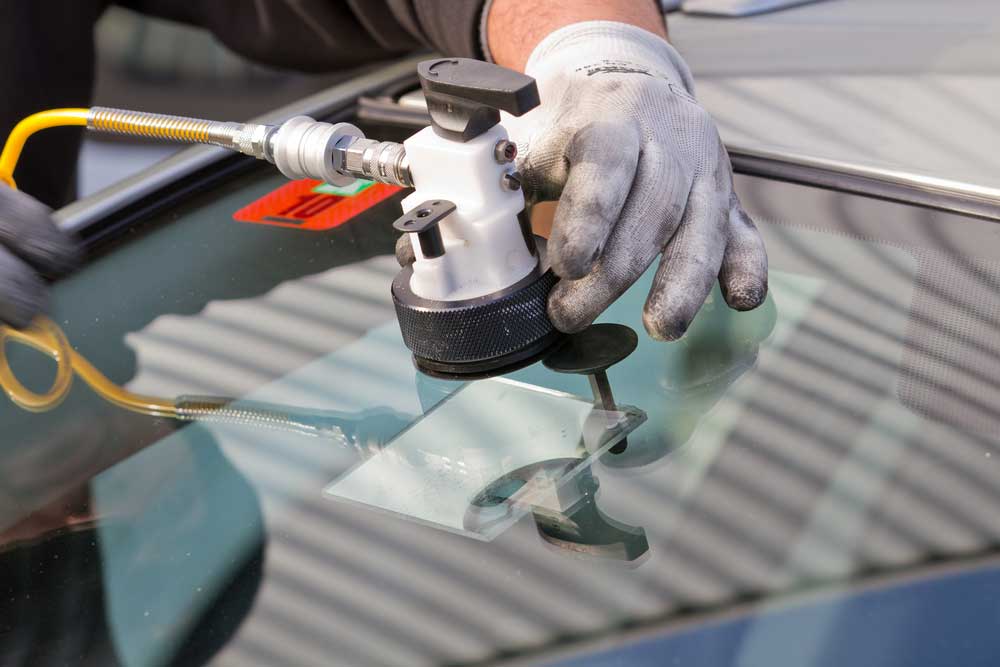
Installing a new car window can be a rewarding experience, allowing you to take control of your vehicle maintenance. Before diving into the process, it’s crucial to gather all the necessary tools and materials. You'll need a set of basic hand tools, including a screwdriver, a utility knife, and possibly a window removal tool. Additionally, having a replacement window that fits your car model is essential.
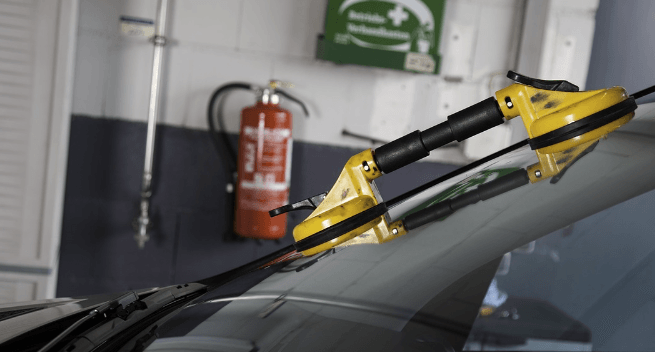
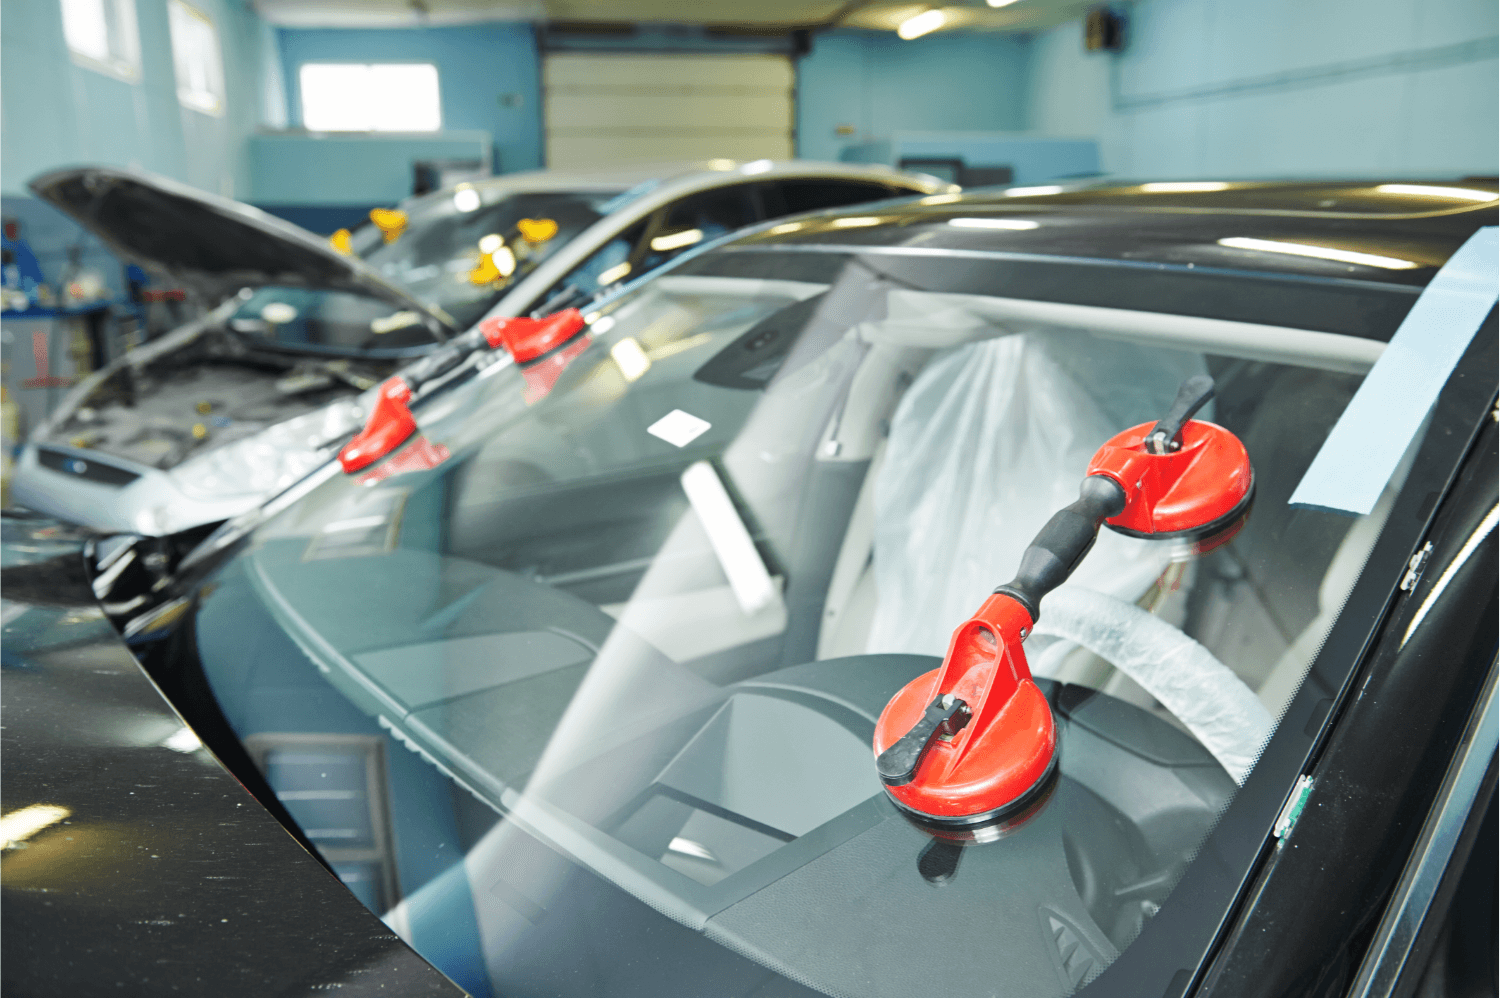
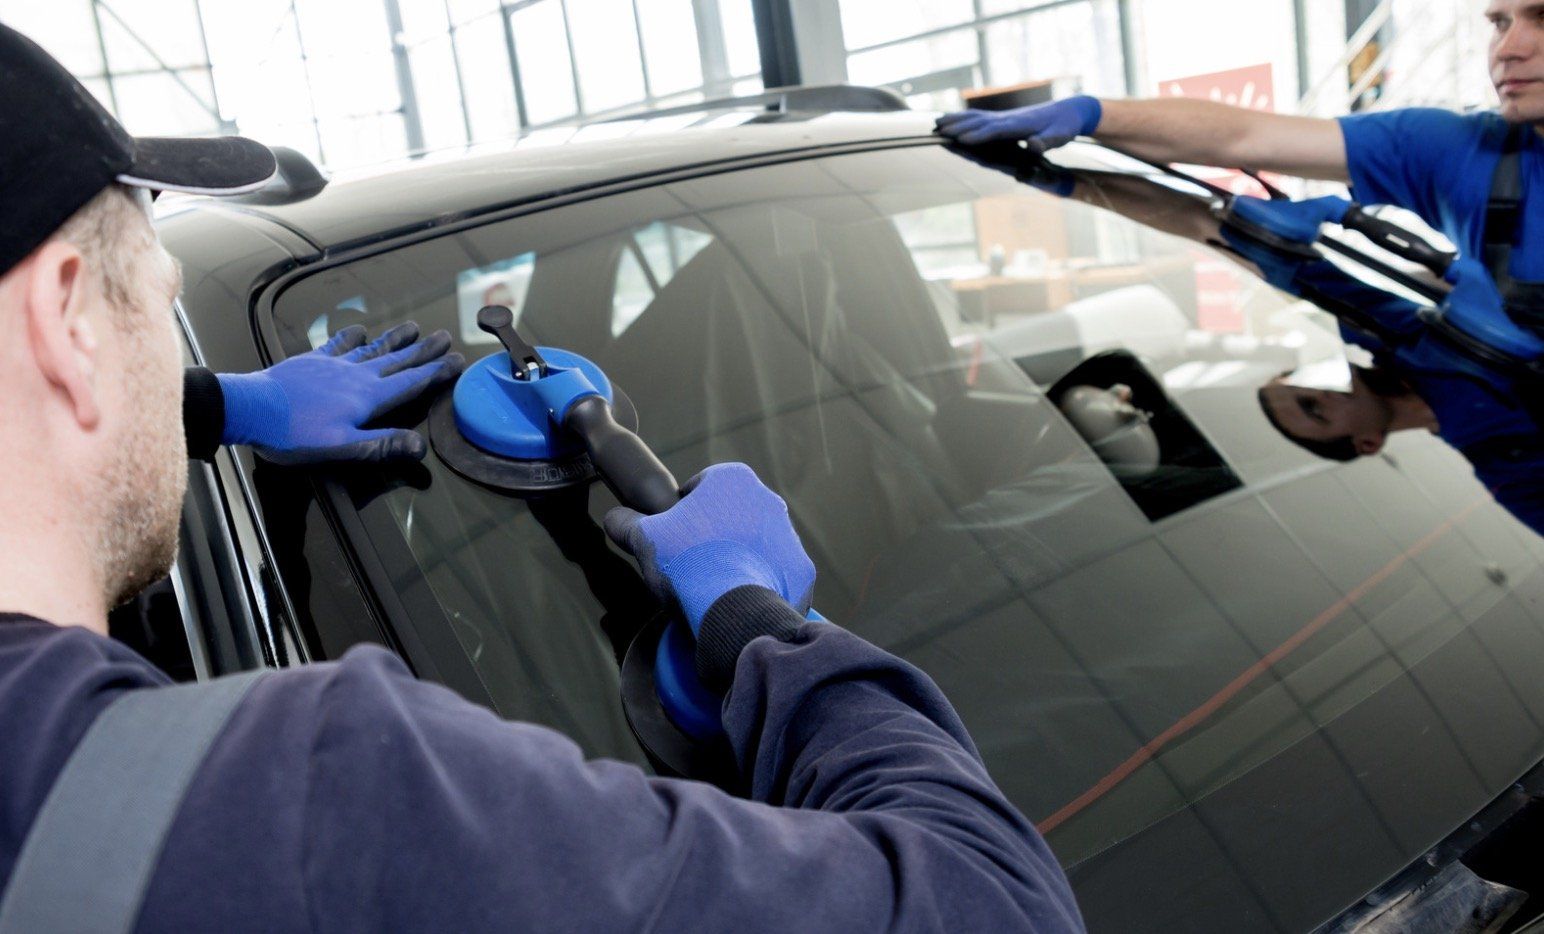
The first step in the installation process involves carefully removing the old window. Depending on the damage, this might require you to detach any surrounding trim or molding. Patience is vital here, as rushing can lead to further damage. Once the window is out, cleaning the frame thoroughly is important to ensure a proper seal for the new window.
Next, prepare your new window for installation. Make sure it’s clean and free of any debris. The installation itself will involve positioning the window correctly within the frame and securing it using adhesives or fasteners. This is where following manufacturer instructions can make a significant difference, as different vehicles may require unique approaches.
While the task may seem straightforward, there are nuances to the process that can influence the outcome. Proper sealing is crucial to prevent leaks and ensure the longevity of the installation. As you proceed, take your time to ensure everything is correctly aligned. By the end of the project, you’ll not only have a new window but also a sense of accomplishment in having done it yourself.
Tips for Removing and Installing a Car Window Seal
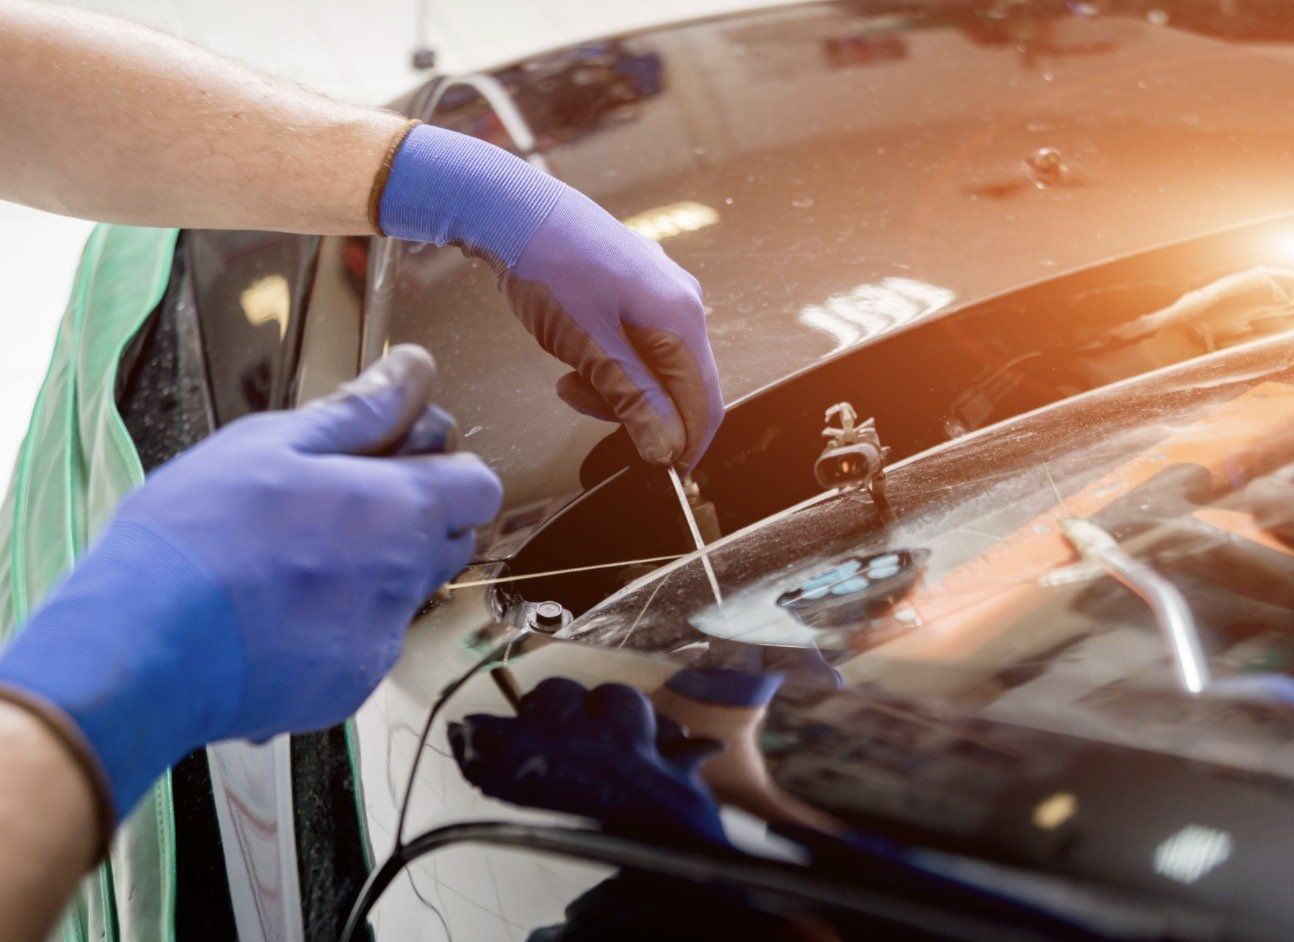
When it comes to replacing a car window, the window seal plays a crucial role in ensuring a proper fit and preventing leaks. The seal, often made of rubber or a similar material, provides a barrier against water, dust, and noise. If you’re planning to remove and install a car window seal, understanding the process can help you achieve a satisfactory result. Here are some detailed tips to guide you through the task.
1. Gather the Right Tools: Before you start, make sure you have all the necessary tools at hand. You’ll typically need:
- Utility Knife or Razor Blade: For cutting the old seal.
- Pry Tool or Flathead Screwdriver: To gently remove the seal and trim.
- Adhesive Remover: For cleaning up any leftover adhesive from the old seal.
- New Window Seal: Make sure it’s the correct size for your vehicle.
- Cleaning Cloths: For wiping down surfaces.
2. Prepare Your Workspace: Choose a clean, well-lit area to work on your vehicle. If possible, park your car in a garage or shaded space to avoid direct sunlight, which might make the materials warm and sticky. Lay down a drop cloth to protect your car’s interior and to catch any debris.
3. Remove the Old Seal: Start by carefully inspecting the existing seal. Look for any visible screws, clips, or attachments that might be holding it in place. Use your pry tool or screwdriver to gently lift and detach these fasteners. Next, use the utility knife to slice through the old seal. Start at one end and work your way around, applying consistent pressure. Be cautious not to damage the glass or the surrounding frame while cutting. If the seal is particularly stubborn, applying some adhesive remover can help soften the material, making it easier to peel away. As you remove the seal, keep an eye out for any remaining adhesive residue. This will need to be cleaned off to ensure a good bond for the new seal.
4. Clean the Surface: Once the old seal is removed, it’s time to clean the surface thoroughly. Use a cloth and adhesive remover to wipe down the frame where the new seal will be installed. Ensure there are no dirt, grime, or leftover adhesive particles. A clean surface is critical for ensuring the new seal adheres properly.
5. Measure and Cut the New Seal: Before installing the new seal, measure the length you’ll need. It’s essential to cut the new seal to the correct size. Most seals come in a roll, so unroll it and use a utility knife to cut it to fit. Be sure to account for any corners or curves in the window frame.
6. Install the New Seal: With the new seal cut to size, it’s time to install it. Start at one corner of the window frame and press the seal firmly into place. Make sure it fits snugly and evenly along the entire length of the frame. If the seal has a specific orientation, ensure that it’s installed correctly, as this will affect its effectiveness. As you work your way around the frame, periodically check that the seal is aligned properly and that it adheres to the surface. If necessary, use your hands to press it down firmly, ensuring that it sticks.
7. Secure the Seal: Depending on the type of seal you’re using, you may need to secure it with additional adhesive. If the new seal isn’t self-adhesive, apply a thin line of automotive adhesive along the edge of the frame before placing the seal. Follow the manufacturer’s instructions regarding curing time and handling.
8. Final Checks: Once the seal is in place, take a moment to inspect your work. Ensure there are no gaps or misalignments. It's also a good idea to let the adhesive cure fully before exposing the area to water or extreme temperatures.
9. Reinstall Any Trim or Molding: If you had to remove any trim or molding to access the seal, reinstall it now. Make sure everything is secured properly and looks good.
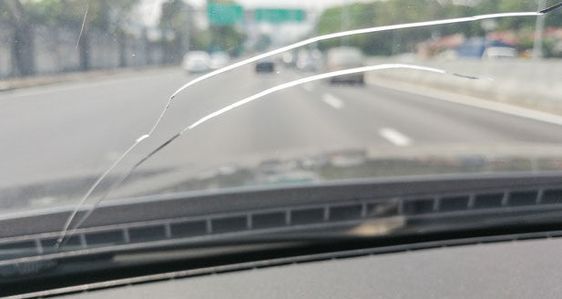
How Long Does It Take to Replace a Car Window?
Replacing a car window typically takes between one to three hours, depending on several factors. The type of window being replaced significantly influences the duration; for instance, replacing a side window is generally quicker than a windshield replacement due to the complexity involved in removing and installing a windshield. If you're having the work done by a professional, the process may take longer if they need to order a specific type of glass or if there are additional repairs required. A mobile auto glass service can often come to your location, which might save you the hassle of waiting in a shop.
Additionally, the time can vary based on the technician's experience and the tools available. If you choose to do it yourself, be prepared to spend extra time if it's your first attempt, as you'll need to ensure everything is done correctly to avoid leaks or improper fit.
In summary, whether you opt for professional assistance or decide to take the DIY route, being prepared and informed will help streamline the window replacement process.
Conclusion
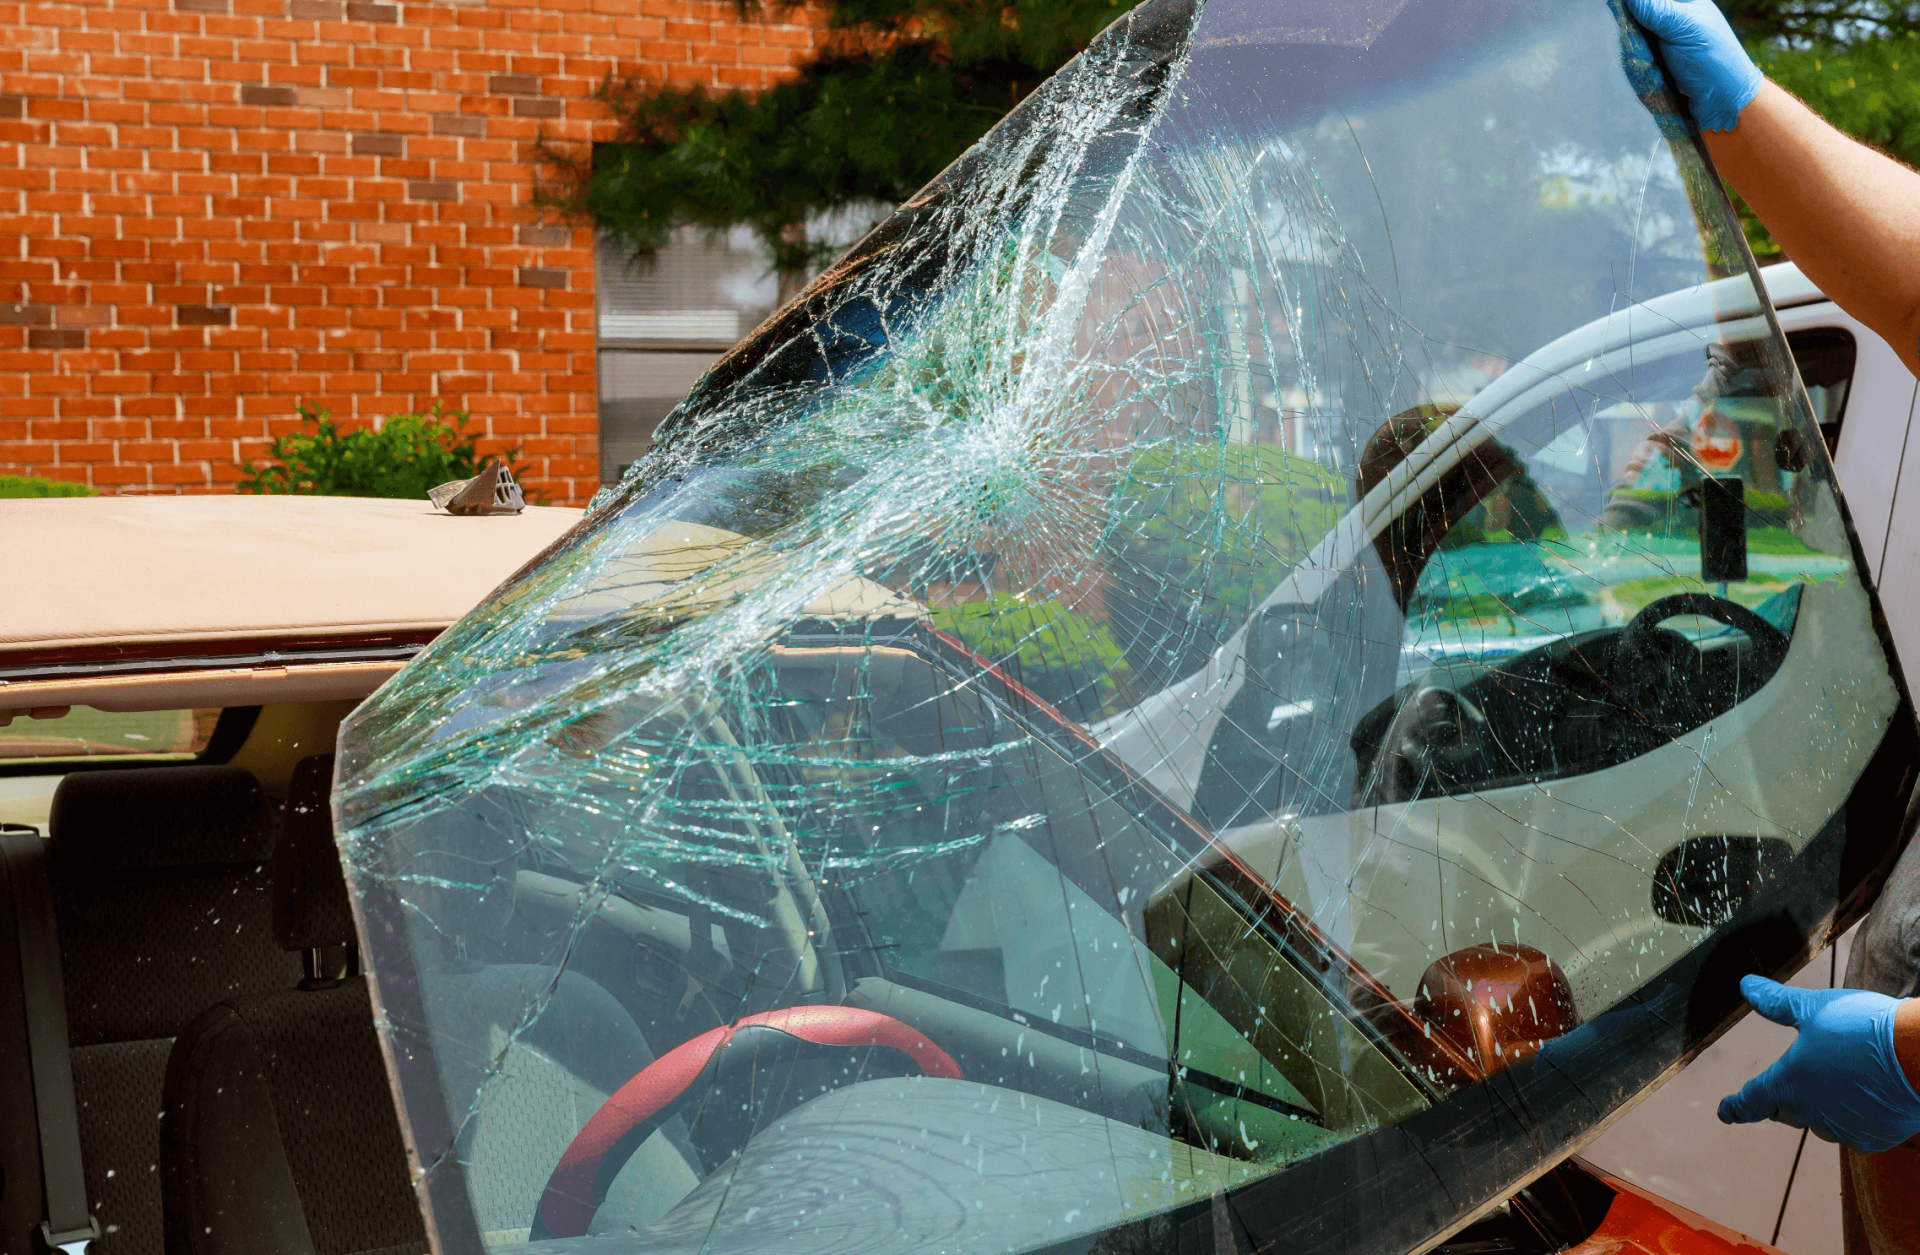
Whether due to an accident, wear and tear, or vandalism, a broken window can compromise the integrity of your vehicle. Understanding the process and knowing what to expect can make the experience much smoother. First, assess the damage and decide whether to tackle the replacement yourself or hire a professional. If you're doing it yourself, ensure you have the right tools and materials, and allow ample time for the job. Remember that proper installation is critical; a poorly fitted window can lead to leaks and additional issues down the road.
If you opt for professional help, choose a reputable auto glass service that offers warranties and guarantees on their work. This not only provides peace of mind but also ensures that the job is done correctly. Ultimately, whether you choose the DIY route or a professional service, replacing a car window is a manageable task when approached with the right information and preparation. Prioritize safety, take your time, and you'll have your vehicle back to its optimal condition in no time.
About Melbourne AutoGlass
Melbourne AutoGlass is a trusted name in the auto glass industry, offering high-quality services to vehicle owners across Melbourne. With years of experience and a commitment to customer satisfaction, we specialize in the replacement and repair of all types of auto glass, including windshields, side windows, and rear windows. Our team of skilled technicians is trained to handle a wide range of makes and models, ensuring that your vehicle receives the best care possible. We use only the highest quality materials and adhesives, guaranteeing a secure fit and long-lasting results. Our mobile service means we can come to you, whether you're at home, work, or anywhere in between, making the process convenient and hassle-free.
At Melbourne AutoGlass, we understand the importance of safety, which is why we adhere to strict industry standards and regulations. Our goal is to provide reliable, efficient service that gets you back on the road safely. With competitive pricing and a focus on customer service, we are dedicated to meeting your auto glass needs with professionalism and expertise. Choose Melbourne AutoGlass for all your auto glass replacement and repair ne

Give us a call today!
To have your perfect glass for your cars.
Service Areas
Windscreen Replacement & Repair Sunshine
Windscreen Replacement & Repair Tarneit
Windscreen Replacement & Repair Wollert
Windscreen Replacement & Repair Rockbank
Windscreen Replacement & Repair Melton
Windscreen Replacement & Repair Clyde
Windscreen Replacement & Repair Craigiebum
Windscreen Replacement & Repair Sunbury
Windscreen Replacement & Repair Southbank
Windscreen Replacement & Repair Docklands
Windscreen Replacement & Repair Box Hill
Windscreen Replacement & Repair Richmond
Windscreen Replacement & Repair Doncaster
Windscreen Replacement & Repair Preston
Windscreen Replacement & Repair Collingwood
Windscreen Replacement & Repair Pakenham
Windscreen Replacement & Repair Mickleham
Windscreen Replacement & Repair Doreen
Windscreen Replacement & Repair Carlton
Windscreen Replacement & Repair Brunswick
Melbourne's leading windscreen and auto glass specialist
LIST OF SERVICES
CONTACT INFORMATION
0391 180 621
Melbourne, 3000, VIC, Australia
WE'RE AVAILABLE
- Mon - Sun
- -